Botanical Illustration Guide
Botanical illustration is the discipline of drawing plants so that someone else can recognize them, understand their structure, and trust the details. A good plate shows the shape of a leaf, the number of petals, how the flower is built — the things a photograph often flattens or hides. It sits between art and record-keeping, and it has worked that way for hundreds of years because it works. This guide covers the anatomy vocabulary, the working sequence, materials, composition, and digitizing — the full path from specimen to finished plate.
What Botanical Illustration Actually Is
A botanical illustration is a labeled, accurate drawing of a plant made to communicate structure. Three things separate it from a decorative flower painting:
- Accuracy over decoration. Every part — roots, stem, leaves, flowers, fruit, seeds — is drawn true to the species. If a plant has five petals, you draw five, not "about five."
- Diagnostic detail. The features that identify the species (leaf shape, vein pattern, flower structure) get prominence. The rest supports them.
- Labels. A real plate names the parts with thin leader lines, so a reader can map each structure to a term.
It's the format you see in field guides, floras, textbooks, and on the walls of natural-history museums. Photography supplements it; it doesn't replace it, because a drawing can isolate, arrange, and label structures in a way a single photo can't. For the history and the big picture, see what botanical illustration is.
The Skills Behind a Good Plate
You don't need fine-arts training. You need patience and a handful of habits.
Observation before line. Spend more time looking at the plant than drawing it. Count the petals. Note whether leaves are opposite or alternate. Look at how the leaf attaches to the stem. Most "wrong" drawings come from drawing what you assume rather than what's there.
Build from the whole to the part. Block in the overall shape and proportion first, then refine. Starting with one perfectly rendered leaf usually leaves no room for the rest of the plant.
Keep line weight consistent. Botanical plates use clean, even line work (or flat watercolor tone) so the eye reads structure, not style. Heavy shading or expressive lines fight the purpose.
Label as you go. Decide which structures to name and place leader lines so they don't cross or crowd. Labels are part of the composition, not an afterthought.
Plant Anatomy Basics for Illustrators
You need only a working vocabulary, but you need it precisely, because these terms are exactly what a plate documents.
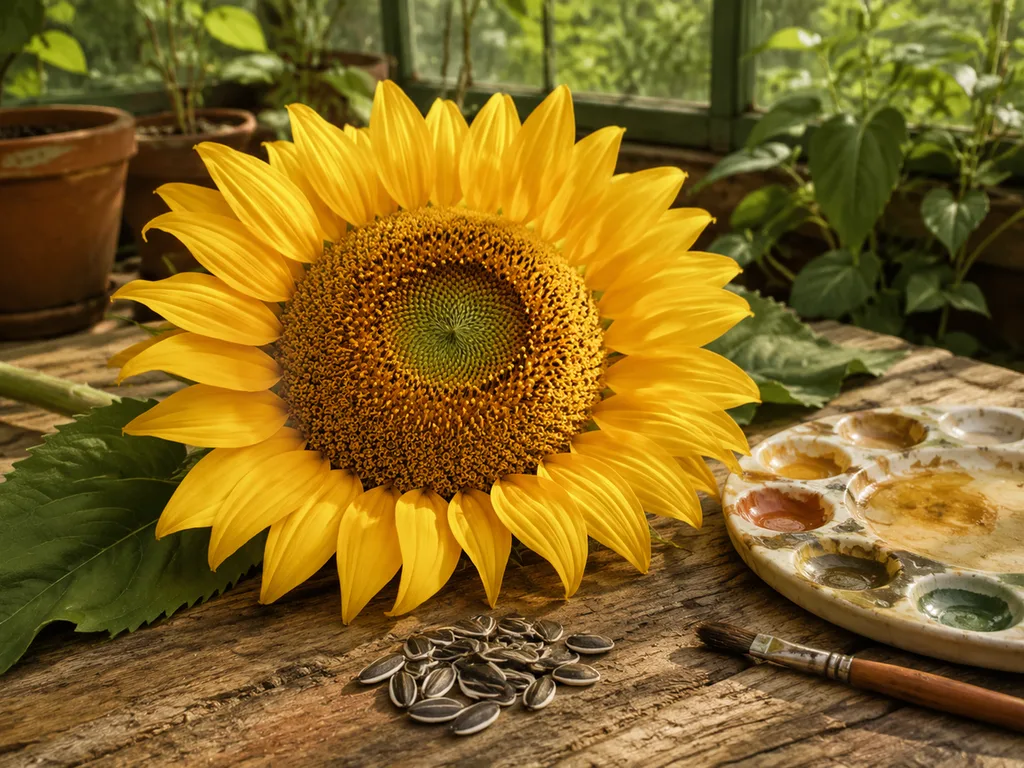
Leaves are described by arrangement (opposite, alternate, whorled), shape (lanceolate, ovate, cordate), margin (entire, toothed, lobed), and venation (parallel, pinnate, palmate). Draw the margin at actual size or larger — it is often the single most diagnostic feature. Flowers run on a fixed cast: sepals (the outer, usually green ring), petals, stamens (the male parts — filament plus anther), and the pistil (stigma, style, ovary). Symmetry matters: radially symmetric flowers (a lily) and bilaterally symmetric ones (an orchid) are drawn and dissected differently. Inflorescence — how flowers are arranged on the stem — is worth knowing by name: a spike, a raceme, an umbel, and a head are different structures, and drawing a sunflower "flower" correctly means knowing the head is hundreds of florets. Fruit and seeds close the life cycle; a plate that shows flower and fruit together documents reproduction in one view.
None of this requires a botany degree. It requires using the right name for the part you just drew — which is also what makes the labels trustworthy.
How to Draw a Plant, Step by Step
A workable sequence for a single specimen:
- Choose a clear specimen with the key parts visible — ideally leaves, flower, and some stem.
- Measure proportions with a pencil held at arm's length (sight-sizing). Rough in the overall shape lightly.
- Place the main structures — flower head, leaves, stem — at their real relative sizes.
- Refine each structure for diagnostic accuracy: leaf margin, vein pattern, petal count, flower symmetry.
- Do the dissection study (next section) and enlarge the diagnostic parts.
- Add tone or color in flat, descriptive layers (botanical work rarely uses dramatic shading).
- Label the key parts with leader lines: leaf, stem, petal, sepal, stamen, pistil as relevant.
- Check against the specimen again. Fix anything you drifted on.
If you're working digitally, the same steps apply — layers just make steps 4–7 easier to revise.
The Dissection Study
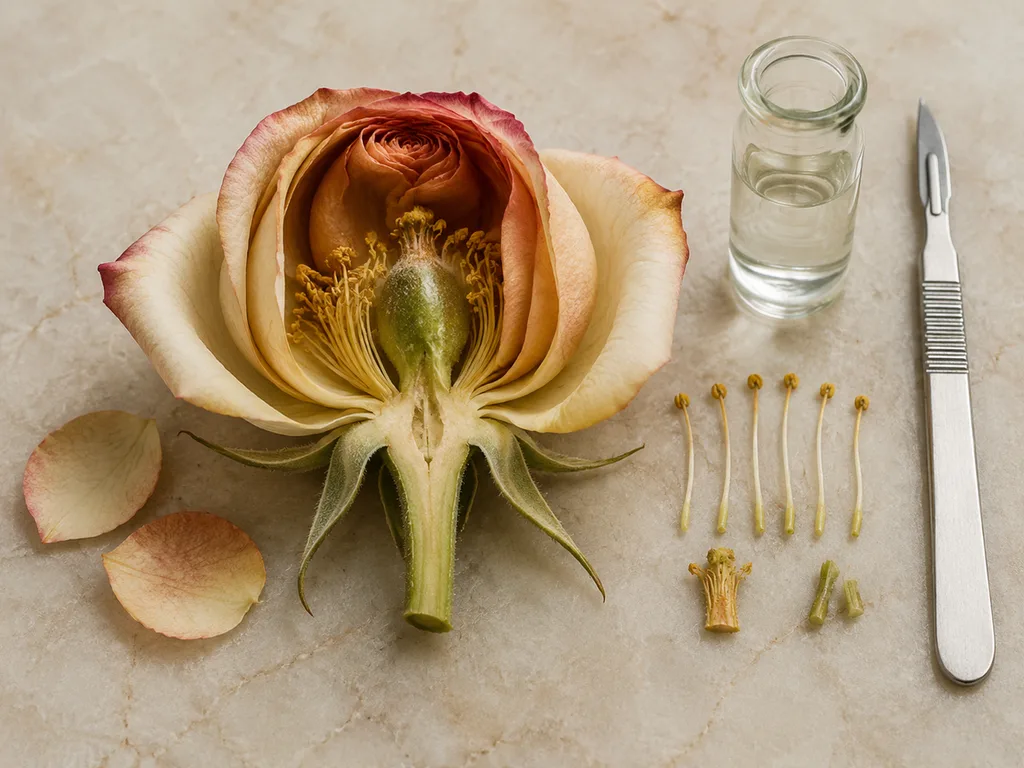
The step that separates a plate from a pretty drawing is cutting the flower open. On a separate study sheet, with a fresh flower and a sharp blade: cut a longitudinal section through the center — through the style and into the ovary — and lay both halves open. Cross-section the ovary separately where the chamber count matters (it often does). Remove and flatten one sepal, one petal, and one stamen, and draw them in a row at a stated magnification, typically two to five times natural size.
Draw what you actually see, including asymmetries — a lopsided stamen drawn honestly is data; an idealized one is fiction. Then note the magnification beside each study ("×3"). When the studies are arranged onto the final plate, those notes become the scale statements that let a reader trust the enlargement.
Composition and Layout of a Plate
The classic plate layout solves a specific problem: many parts, one readable sheet.
The habit drawing — the whole plant or a characteristic branch — anchors the center, drawn to a size that leaves margins clear. Details and dissections arrange around it, usually toward the corners and lower edge, each at its own scale. White space is structural: no important part of the habit should be overlapped by a detail, and the plant's silhouette should stand clear of the sheet's edges. Labels go outside the silhouette with leader lines that don't cross. A scale note (or small scale bars) near the dissections states their magnification.
Practical order: rough the composition as light boxes for each element before drawing any of them in earnest, and check the balance by squinting at the sheet — the eye should land on the habit first, the details second, the labels last.
Materials: Traditional and Digital
Traditional. The museum-standard kit is graphite for line (H to 2H for light construction), hot-pressed watercolor paper for its smooth surface, watercolor or colored pencil for tone, and a few good round brushes. Add a metal ruler, a hand lens (10× is enough for most dissections), a sharp scalpel or razor for sections, and dividers for transferring measurements. Tracing paper protects finished areas while you work others.
Digital. A tablet with a stylus and a natural-media brush set reproduces the traditional look with layers and undo — worth having when a plate goes through several rounds of revision. The usual layer stack mirrors the traditional sequence: a proportion layer, a clean line layer, a wash layer, and a label layer kept separate so text can be edited without touching artwork. For publication, plates are commonly finished as vectors in Adobe Illustrator, or Inkscape as the free open-source equivalent.
AI. A generator like GLMImage produces a clean, labeled plate from a text description in seconds — useful for drafts, mocks, education, and content where you need a plate fast. Describe species, view, parts, and labels in one prompt; treat the output as a draft and verify petal counts and leaf arrangement before relying on it.
Digitizing a Finished Plate
Scanning beats photographing for flat work. Scan at 600 dpi in color, even for graphite, so the archive file can be enlarged later; keep TIFF or PNG as the master and reserve JPEG for web copies. Check the scan's color against the original under daylight — scanners drift warm or cool, and a small white balance correction restores it. Clean up dust and stray fibers digitally rather than reworking the original. Finally, keep the file naming boring and complete: species, date, and plate number. The plate is a record; the file is the record's record.
When to Use Hand, Digital, or AI
Reach for hand or digital drawing when the plate must be exactly correct for a publication, a formal flora, or legal/conservation use — anything where a human signs off on every line. Reach for AI for lesson visuals, article art, concept drafts, presentation figures, and anywhere a clean, mostly-accurate plate unblocks you. For the same discipline from the definition side, see what botanical illustration is; for the wider field, what scientific illustration is, and for the zoological counterpart, how to draw animals.
Try AI generation: the scientific illustration generator → (botanical mode)
Frequently Asked Questions
What is the difference between botanical illustration and flower painting?
Purpose. A botanical plate documents a species — accurate petal counts, leaf margins, labeled parts — while flower painting prioritizes mood and beauty. A plate trades style for information.
Do I need to know botany to draw plants?
You need observation more than botany: count the parts, note how leaves attach, check the vein pattern. A field guide for your species tells you which details matter, and the vocabulary follows fast.
How long does a botanical plate take?
A careful single-species plate with labels typically takes a day to several days by hand. Digital tools speed revision; AI produces a draft plate in seconds, but the labels and morphology need checking.
Can AI do botanical illustration?
As drafts and teaching visuals, yes — generate a labeled plate from a description, then verify petal counts and leaf arrangement against a real reference before trusting it.